Showing posts with label clothing. Show all posts

09 February 2016

Family Update and 4 Paws for Ability

Where to begin? Since our last update, I survived a very difficult pregnancy (Hyperemesis Gravidarum, AGAIN), we welcomed our beautiful baby girl #2, and the Bear received a diagnosis of Sensory Processing Disorder.  I expect I will write posts about HG and SPD in the future, because both are near to my heart and widely misunderstood.  And of course, I need to finish the series on depression someday.  Hubby Bear may even guest blog again sometime.

But today I want to share with you a wonderful cause and organization called 4 Paws for Ability.  They raise and train service dogs for a variety of disabilities, and there is no minimum age requirement to be matched with a dog.  We're in the process of being matched with an Autism Service Dog for the Bear (SPD shares many symptoms with autism, although the Bear has not been officially placed on the spectrum at this time).  Other types of dogs 4 Paws for Ability trains include Diabetic Alert and Seizure Assistance Dogs, which can literally save lives.  From birth through training, it costs at least $22,000 to place a dog with a family in need.  Families don't pay for the dogs themselves, but rather commit to volunteering as fundraisers with 4 Paws for Ability to raise a minimum of $15,000.  That's where we are in the process right now, fundraising.

This is the Bear's story:
 Asher is a brilliant, energetic five year old boy with special needs.  Currently his main diagnosis is Sensory Processing Disorder, which means that his senses (not just the 5 we learn about in school, but also his sense of balance and his sense of his body in space) don't send the same signals to his brain that other people receive from their senses. Asher falls mostly into the category of sensory "seeker", which means his brain craves more sensory input the way a baby craves milk.  As such, he struggles to sit still, remain on task, and control his impulses.  At times he has been a danger to himself and others because he doesn't take the time to think through the consequences of his actions and because he doesn't experience pain in the same way other people do.  Asher likes to crash his head into things...and people.  He doesn't actually feel if you knock on his head like a door--he only knows you're doing it if he sees your arm move. One time he gave his grandmother a huge goose egg on her forehead when he head-butted her while running in for a hug, and he never felt a thing. He has trouble focusing in school or church because his brain is craving sensory input too much to concentrate on learning. He has a bad habit of running away in public when not sufficiently stimulated, and has even run into the kitchen of a sit-down restaurant.

An Autism Service Dog will be trained to help keep Asher from running away in public places, and to calm Asher when he is having a "meltdown." From birth through training, the cost of placing such a dog in a family like ours is at least $22,000.  We are committed to raising a minimum of $15,000 to help 4 Paws for Ability continue this vital work. 

I would encourage you to check out these websites and prayerfully consider if you can support 4 Paws for Ability in their mission to provide service dogs to children whose lives will be so enriched by them.  If you feel led to do so, we would be deeply grateful for a donation made in the Bear's honor or the purchase of one of our t-shirts.  And if you know a family who could be helped by receiving a service dog, please pass this information along to them.

To learn more about 4 Paws for Ability, go to http://4pawsforability.org/

To make a donation in honor of the Bear, go to https://www.razoo.com/us/story/4pawsforashersfurryfriend OR send a check to

4 Paws for Ability
253 Dayton Ave.
Xenia, Ohio 45385
 and write "in honor of Asher Doremus" on the memo line
*PLEASE DO NOT SEND CHECKS DRAWN ON FOREIGN ACCOUNTS.  IF YOU ARE MAKING A DONATION FROM ANOTHER COUNTRY, PLEASE USE PAYPAL, NETWORK FOR GOOD, OR CALL US TO MAKE A CREDIT CARD DONATION OVER THE PHONE. *
To purchase a really cool t-shirt (which the Bear helped design), go to https://www.booster.com/4-paws-for-ashers-furry-friend 


18 December 2014

Christmas Post Link

Check out my guest blog post (and all the other great stuff) at the Doormouse House. Merry Christmas!
http://www.doormousehouse.com/2014/12/making-christmas-merry-well-be-home-for.html?m=1

08 May 2013

Some Things I've Made Lately.

Iron-on t-shirts for my cousin's little boys
The bestest birthday card in the history of ever:


Painted, sponged, and hot-glued letters.


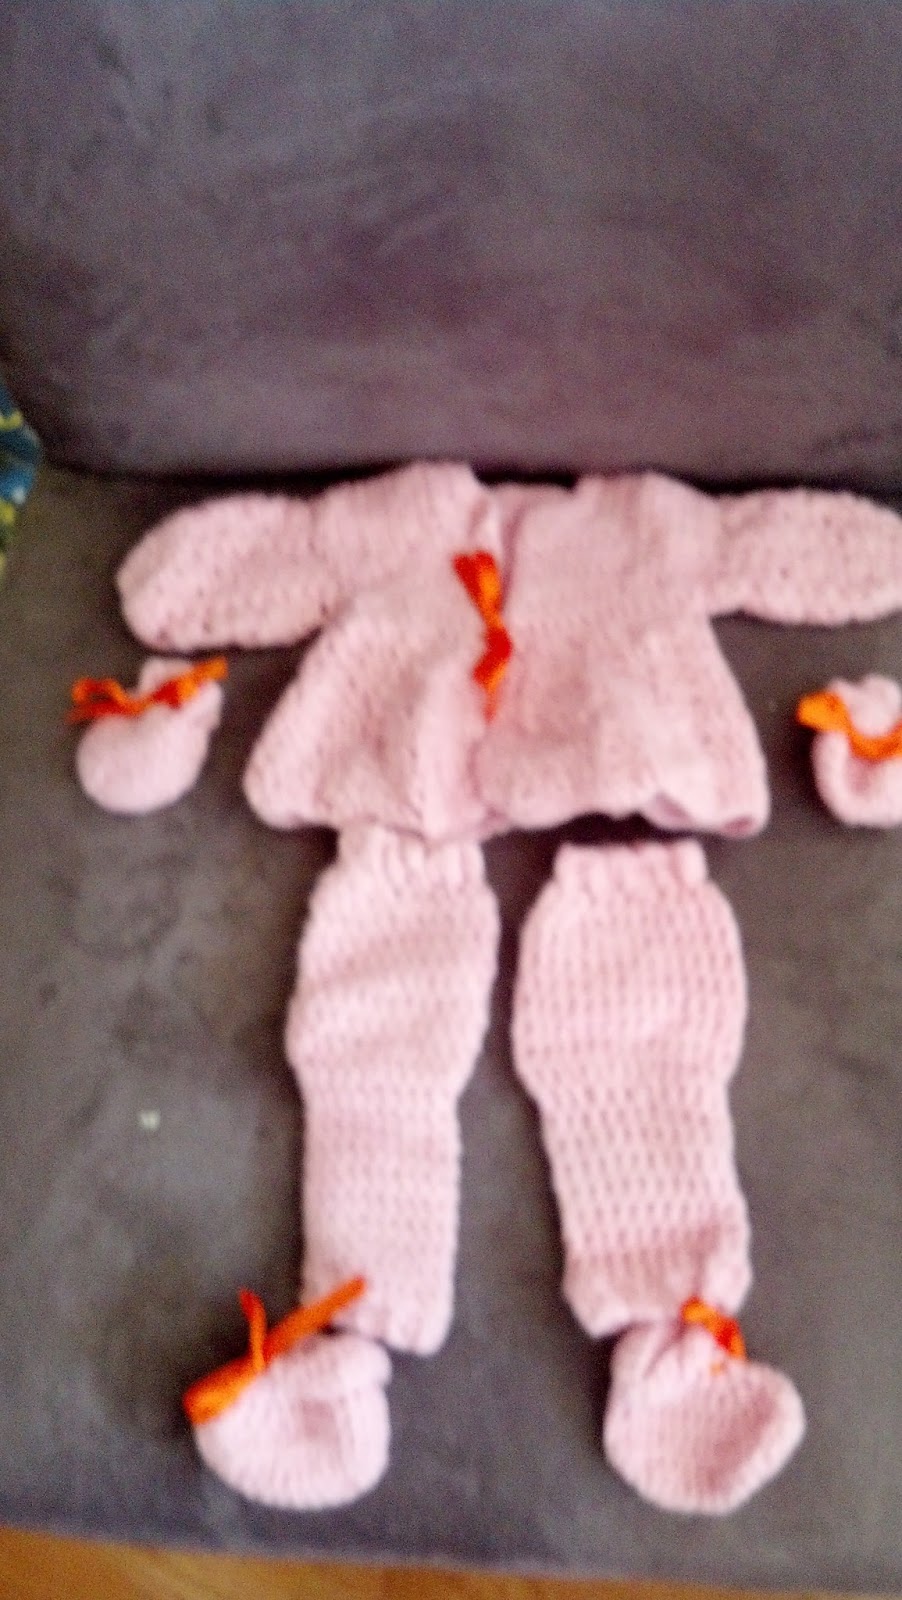
Crocheted sweaters, mittens, legwarmers, and booties for Bitty Bear to ward off air-conditioning chill at the hospital.


Keep it Kute!

13 April 2013

Newborn Gown Tutorial and Link to Matching Mommy Hospital Gown

So, I don't enjoy wearing hospital gowns...not that anyone does.  I just wore the standard gown the whole time I was in the hospital with the Bear, but I really didn't feel good about how I looked when the family came to meet him, or in our first pictures together (my hair was also nasty, which is why I got it cut this time around).  Anyway, my SIL (who is due 3 days before me) sent me this link http://www.craftycupboard.net/2011/11/hospital-gown-tutorial.html and we went fabric shopping together, and it was all kinds of fun.  I've already made one gown for after I get a shower; planning to make a second one to wear home, because it will be more comfy than ill-fitting maternity pants.

Then I found out that Bitty Bear was a girl (yay, one of each!), and I thought it would be fun to make her some matching gowns--yes, I am going to be that Mom ( I made a matching necktie t-shirt for the gowns that I just made, so the Bear can match us when he comes to the hospital to meet baby sister...Hubby says the fabric for our coming home gowns is too girly for the Bear, though). I thought one of those newborn wrap shirts with a skirt added would be perfect, but I couldn't find any patterns I liked on the interwebs, so I designed my own.  Here is a tutorial in case you want to make one for your little girl.

Materials:
1 newborn size wrap t-shirt (or larger size if desired)
1 yard of desired fabric print
coordinating ribbon (I'd make sure to have at least half a yard, just in case)
coordinating thread
white thread
iron/board
needles
scissors
pinking shears
rotary cutter (optional, but useful)
straight pins
tailor's chalk
large fabric ruler
sewing machine (optional, but useful)


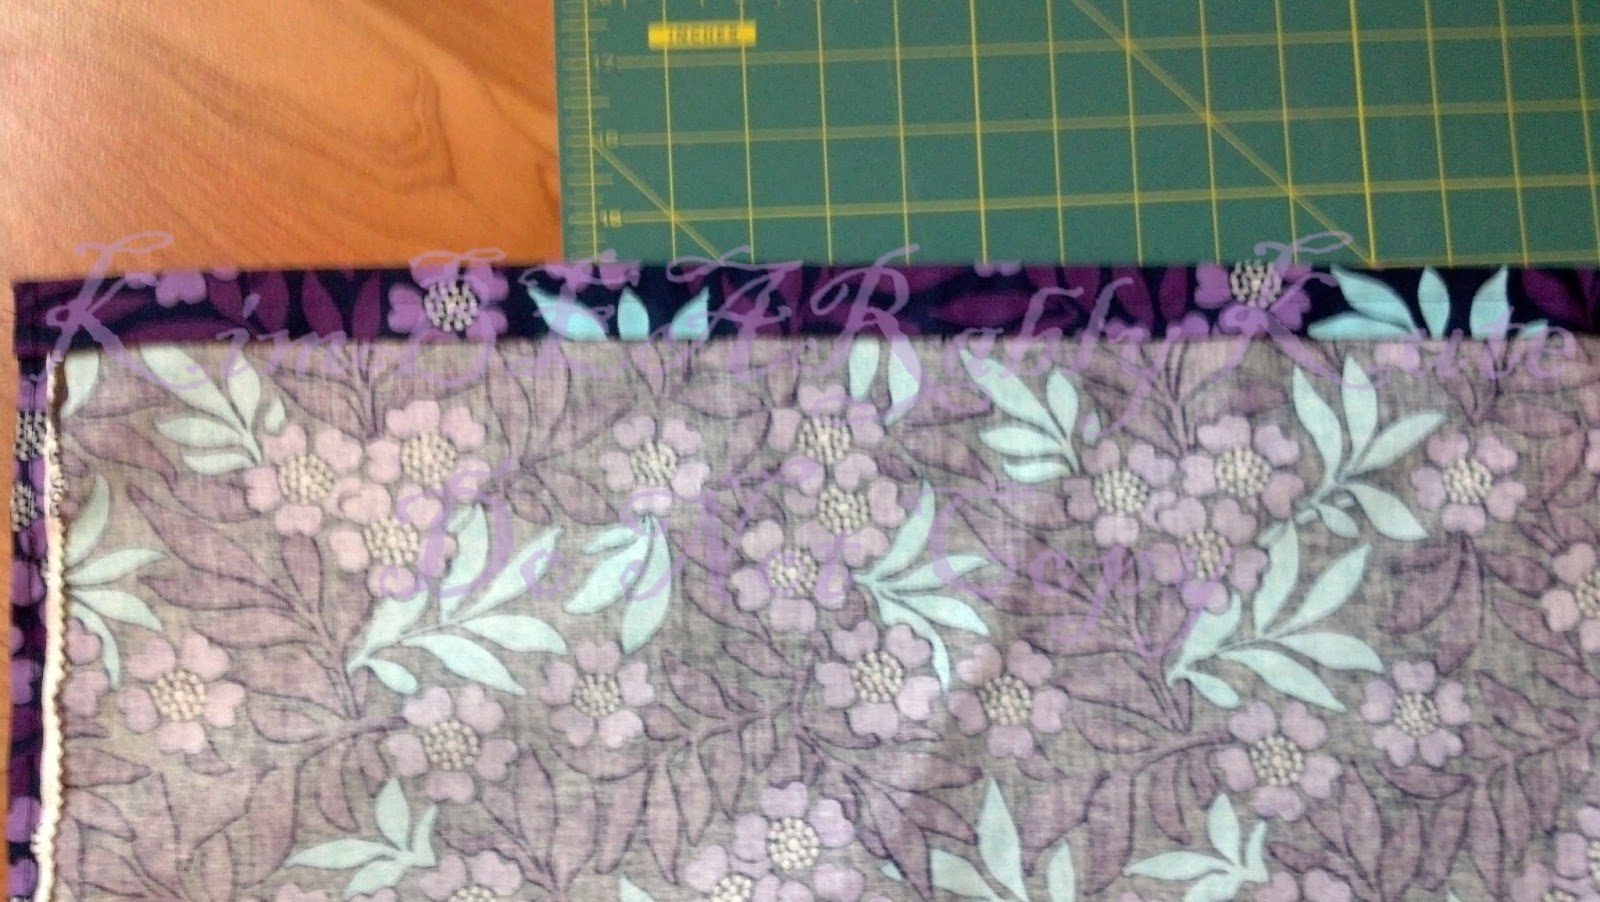
  1. Hem the selvage sides of the fabric (no need to cut off selvage as it won't show) with ~1/4" seam and finish the inside edge. I like to iron my hems before sewing.  Pink the edge you will use for the top of the skirt.
  2. Cut fabric to desired length--you will use the full yard for the width of the skirt, but you probably won't want all the length.  I tried to make my gown ~24" from shoulder to hem, so I pinned it where I wanted it on the t-shirt, and then added a 2" seam allowance and marked that for cutting.  (That leaves enough fabric for me to try making a short skirt for a onesie when she is older, so she can still match the Bear).  I ironed and sewed a 1" doubled over hem to give the bottom of the skirt some weight.
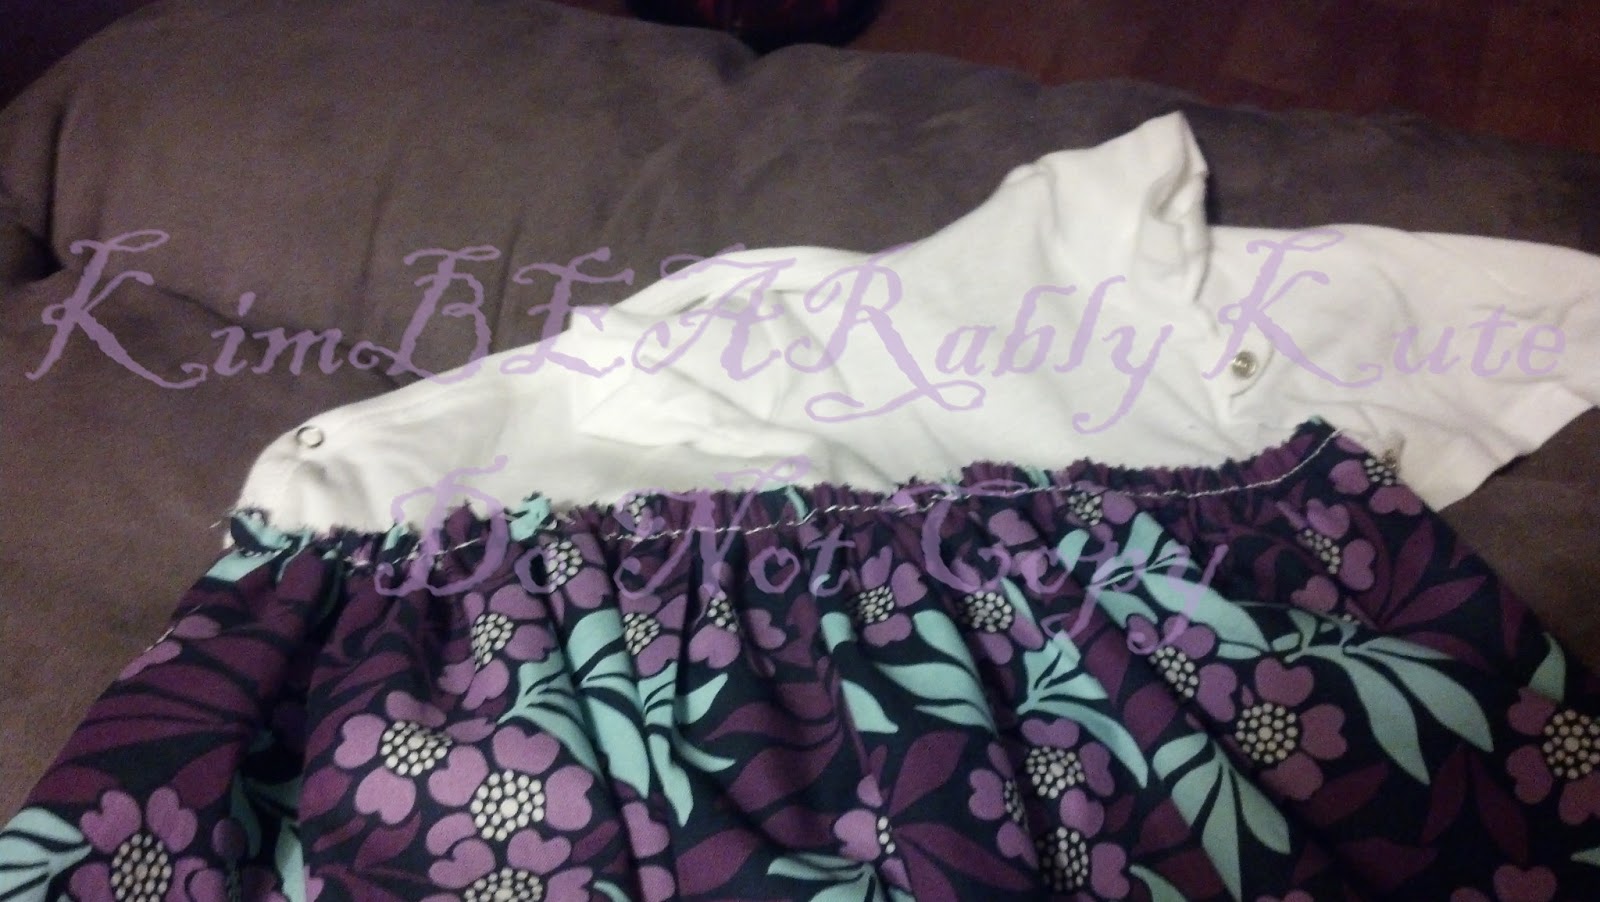
  3. Make a gathering stitch along the pinked edge, gathering it to just slightly wider than the part of the t-shirt you want to sew it to.  I choose to have mine reach from one set of snaps to the other without overlap to make fastening the snaps easier.
  4. Using the white thread, sew the gathered edge at the desired height on the t-shirt.  Don't worry about your stitches being pretty, as they will be hidden; just make the gathers as even as possible and try to keep the skirt in a straight line.  I found it helpful to draw a chalk line on the t-shirt where I wanted the skirt to go, and to pin the skirt at the edges and in the center.  I chose to attach the skirt half-way between the top and bottom snaps.
  5.  Cover your seam and your pinked edge with coordinating ribbon trim--you'll want to make sure your stitches are even this time. You'll want to sew both the top and bottom edges of the ribbon.


  6. I sewed a little bow to a beanie to go with it. All done!


    I plan to crochet some scratch mittens, booties, leg warmers, and a cardigan in coordinating shades of purple.  That way, diaper changes are easy, and so is adjusting the outfit depending on her body temp (it will be July, but the Bear had trouble staying warm for the first 48 hours when he was born in August).

    The Bear's matching shirt
    Bitty Bear's homecoming gown--Hubby says this fabric is too girly for the Bear.

    Keep it Kute!

29 September 2011

The Bear's First Birthday

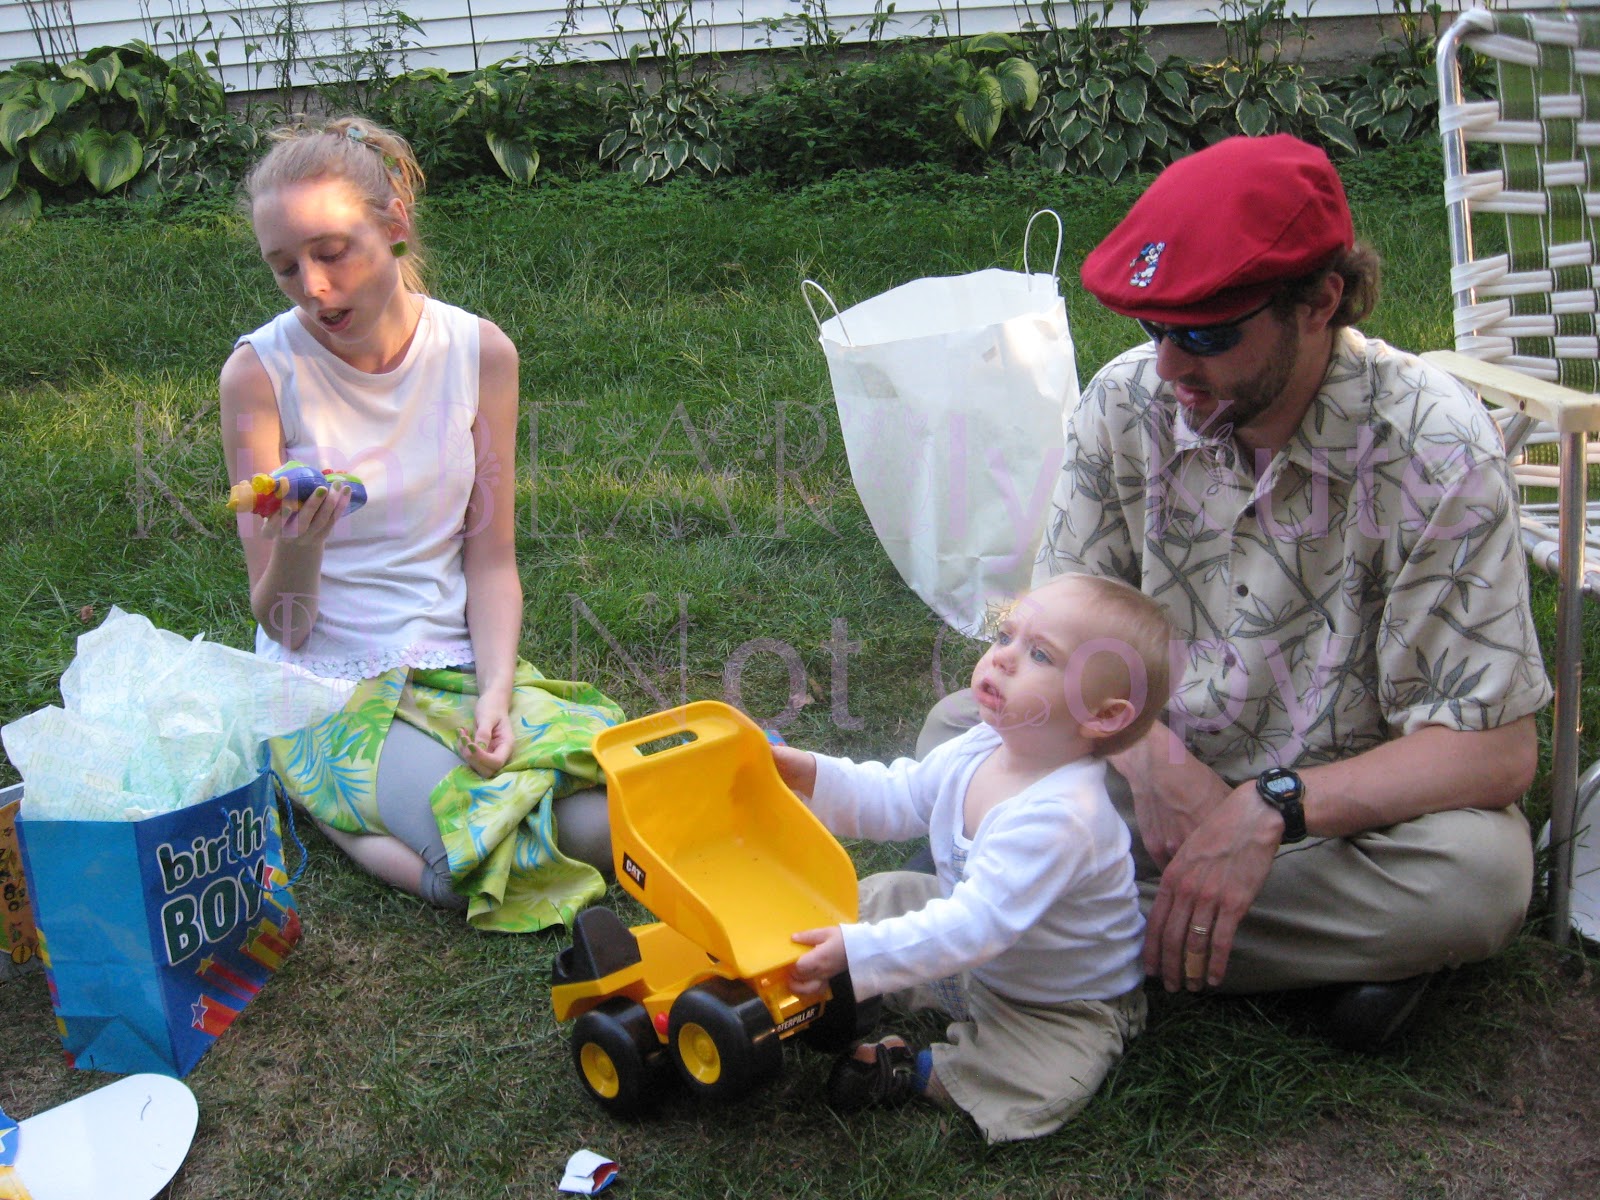
Opening prezzies!
Eating his first ever bite of chocolate or cake!
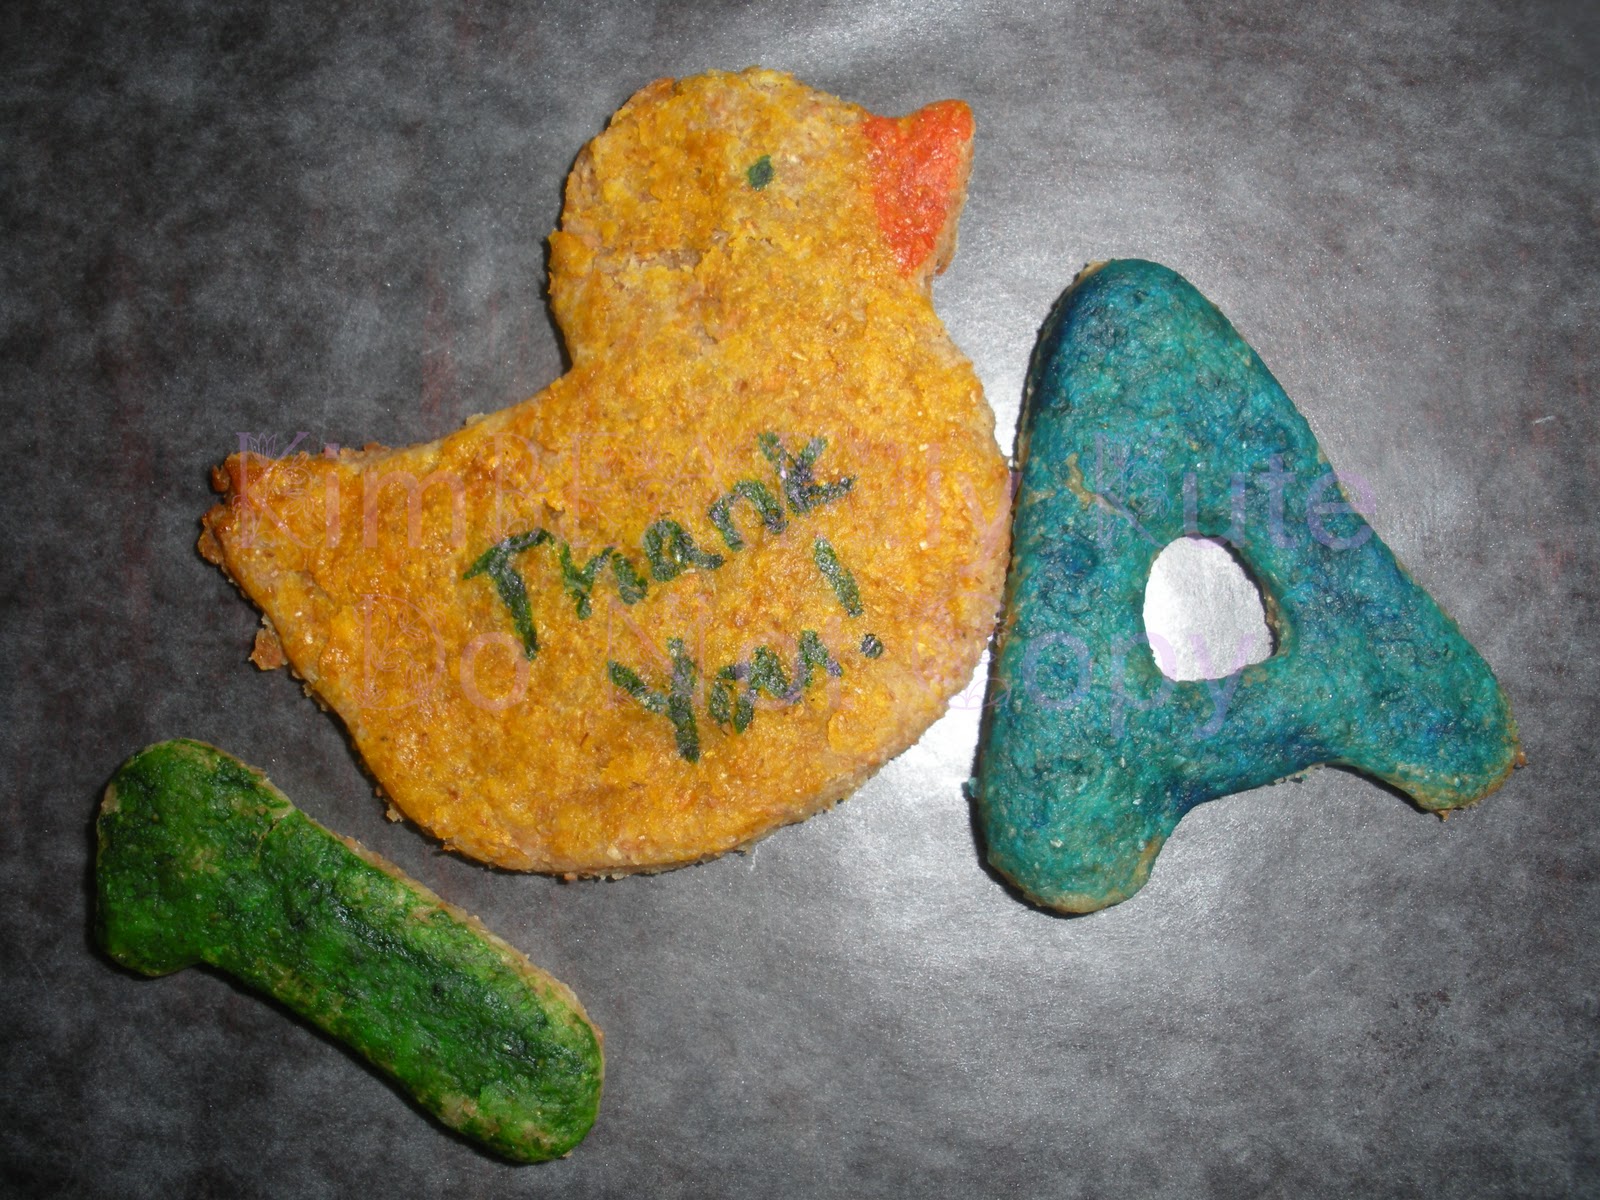
These were disgusting!  Homemade teething biscuits not even the Bear would eat, but at least they looked cute!

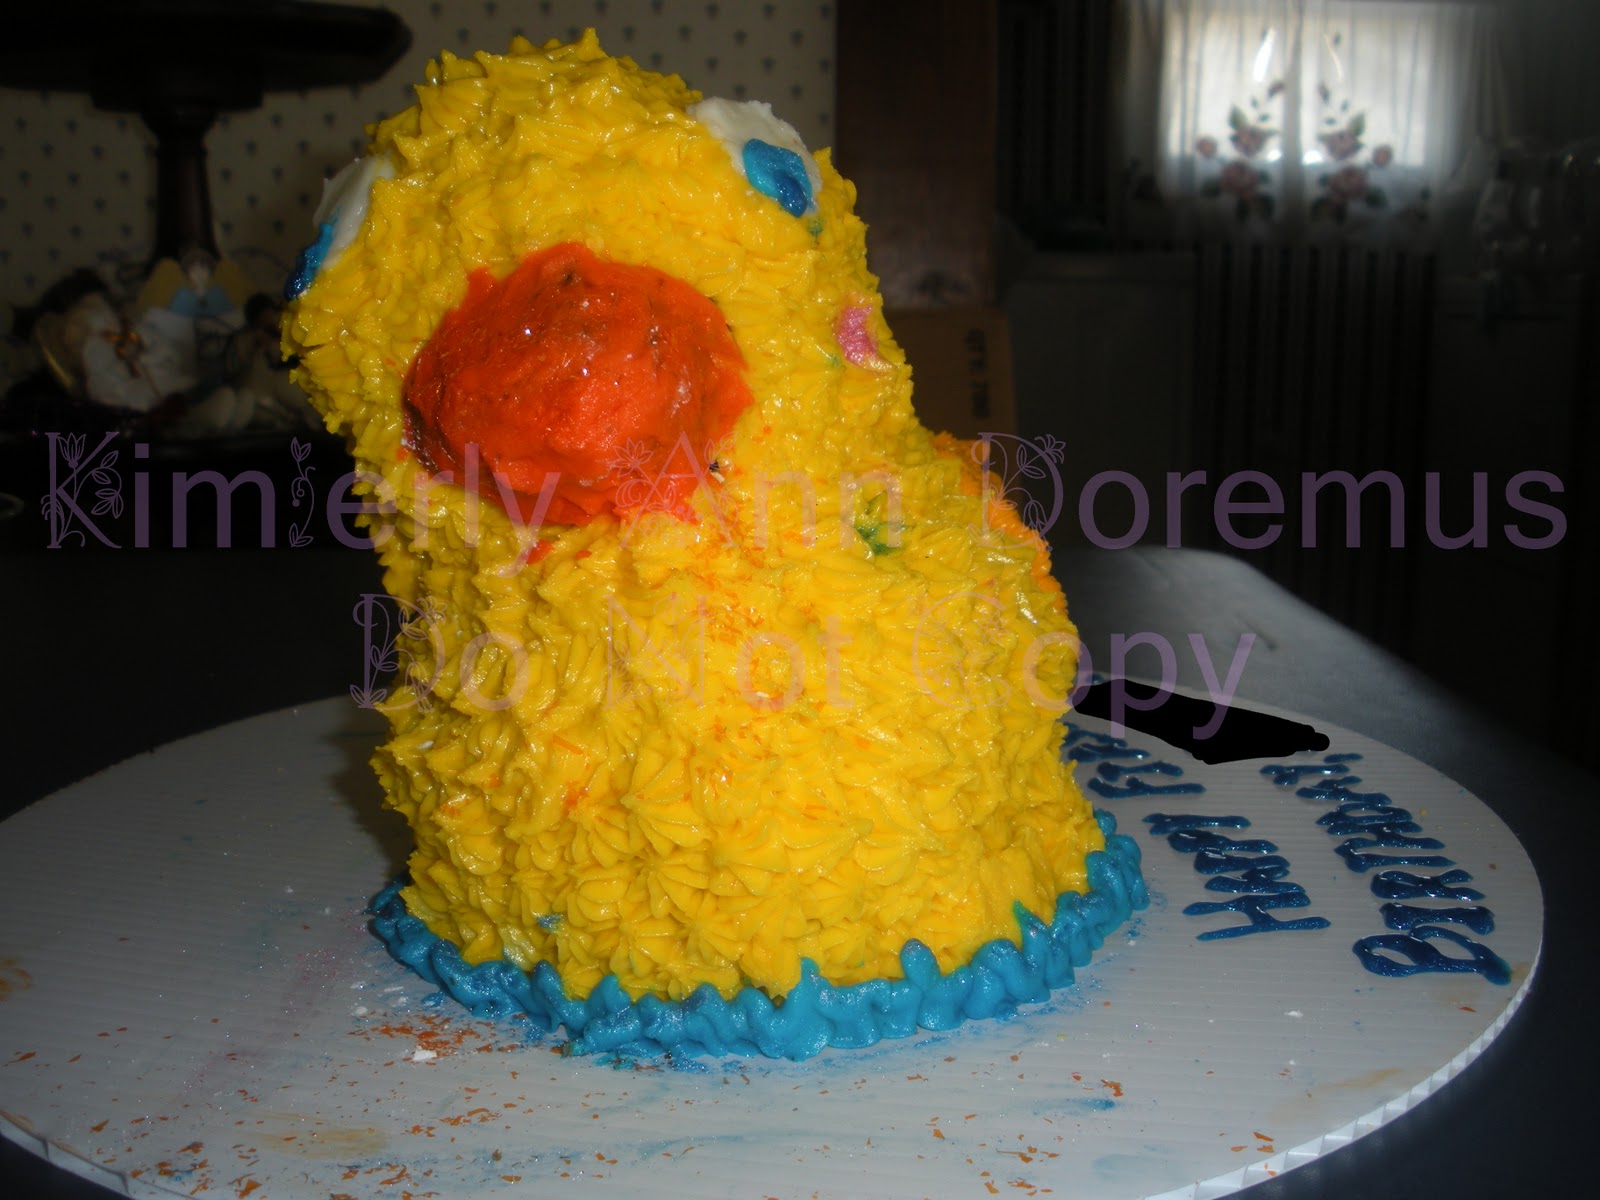
I spent 4 hours icing the ducky cake, while Mama Bear spent the same amount of time icing 90+ cupcakes.


By the next afternoon, however, heat and gravity took over.
He ate pretty much the whole head of the duck.
I restyled this shirt as a b-day gift for the Bear because he loves ducks.  It used to be a plain striped Henley, but I added the duck buttons and duck applique.

Keep it Kute!

10 August 2011

Ministry opportunity for even the most amateur seamstress

My denomination is participating in a mission project.  The goal is to make simple sundresses (most have been from pillowcases) to send to impoverished girls in Africa.  If you would like to participate, here is the address of my church:

First Covenant Church
3616 N. Bigelow St.
Peoria, IL 61604-1600

You can send your completed dresses by September 12, 2011 at the latest if you want them to reach this ministry.  However, if you start working on them but miss the deadline, I'm certain other local ministries would be interested.

Directions for Pillowcase Dress 


  1. Choose your pillowcase.  A standard size will make a dress for a young child, queen will make a dress for a medium sized child or teen, and king will make a teen to adult sized dress.
  2. Cut off the closed end, as close to the seam as possible.  This will be the top of your dress.
  3. Cut armholes with the following templates: 

4. Fold over top edges and iron to create a smooth edge.  Then repeat, so that you will have a tunnel for the elastic.  Cut elastic into two equal lengths: 6" (7", 8") and sew one end inside the edge of the casing.  Then sew the casing, pulling the elastic through as you sew, creating a tunnel around the elastic.  Finally, sew the elastic to the other edge of the casing.
5. Cut two 50" lengths of double fold bias tape. Open tape and turn under 1/4" on each end, then refold tape and iron to finish edges.
6.  Open tape again and baste one edge along the inside of each armhole. Refold, encasing armhole, and stitch along the whole of the bias tape.  The tape should be centered so that several inches extend on either side of the pillowcase; these will be the shoulder ties.
7.  Trim dress as desired.

Feel free to message me if you have any questions.  I have modified this pattern from two other patterns I was given.  Both patterns were unclear to me and I needed the help of a more experienced seamstress on the first dress, but I think that was mostly because of the ambiguity of the patterns.  I hope my pattern is easy to understand.

Here is a picture of me modeling the adult dress I made, and a picture of all 4 dresses I made (1 large, 1 medium, 2 small):


Keep it Kute!